There’s something special about pulling a fresh loaf of bread from the oven. The smell fills the kitchen, the crust turns a beautiful golden brown, and you already know tomorrow’s sandwiches are going to be better than anything from the store.
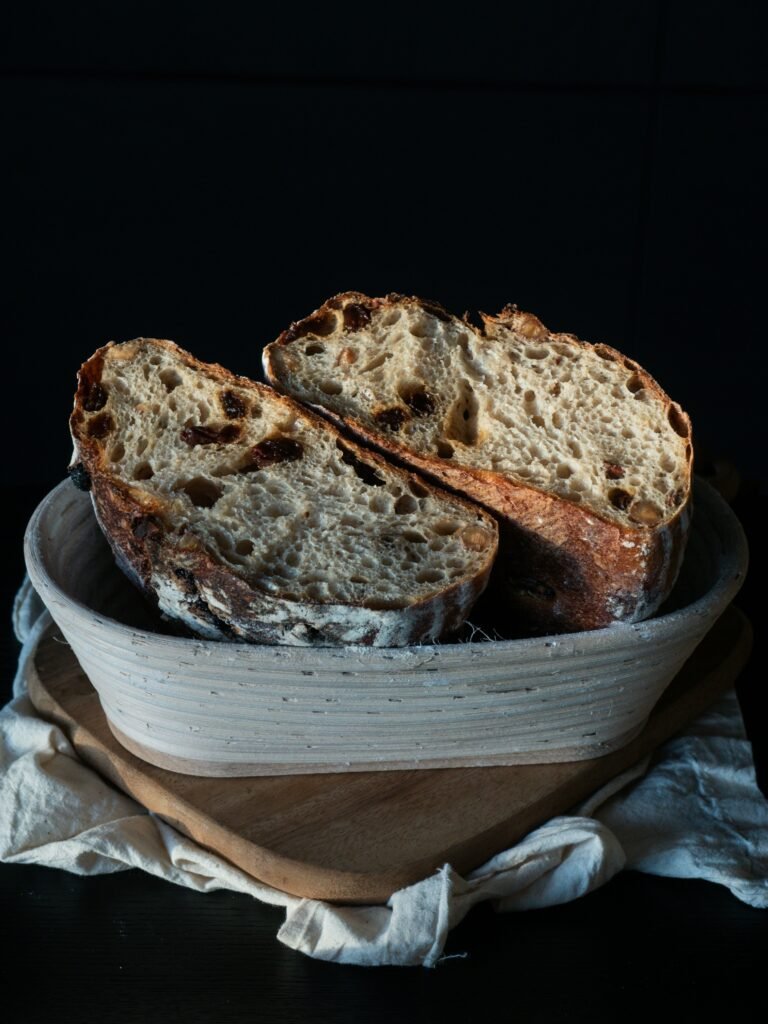
While traditional artisan sourdough is known for its thick crust and large air pockets, this sourdough sandwich bread is designed for everyday use. It has the rich flavor that sourdough lovers enjoy, but with a soft texture that slices beautifully and works perfectly for sandwiches, toast, French toast, grilled cheese, and more.
The combination of an active sourdough starter, milk, butter, and honey creates a loaf that stays soft, flavorful, and family-friendly. Whether you’re new to sourdough baking or already maintain a starter, this recipe is simple enough for regular baking and reliable enough to become part of your weekly routine.
Why You’ll Love This Recipe
- Soft and fluffy texture
- Perfect for sandwiches and toast
- Mild sourdough flavor
- No commercial yeast required
- Easy-to-follow instructions
- Freezes well for later use
- Great for beginner and experienced bakers
Recipe Information
Yield: 1 standard loaf
Prep Time: 20 minutes
Bulk Fermentation: 6–10 hours
Second Rise: 2–4 hours
Bake Time: 35–40 minutes
Total Time: Approximately 10–14 hours
Ingredients
- 100g active sourdough starter (fed and bubbly)
- 300g warm whole milk
- 30g honey
- 30g unsalted butter, softened
- 500g bread flour
- 10g fine sea salt
For Best Results
Use a sourdough starter that has doubled in size after feeding and is full of bubbles. An active starter produces the best rise and flavor.
Equipment Needed
- Large mixing bowl
- Digital kitchen scale
- Dough scraper
- 9×5-inch loaf pan
- Plastic wrap or kitchen towel
- Cooling rack
Step 1: Mix the Dough
In a large bowl, combine the active sourdough starter, warm milk, honey, and softened butter. Stir until the ingredients are mostly combined.
Add the bread flour and salt. Mix until a rough, shaggy dough forms. At this stage the dough will look uneven and slightly sticky, which is completely normal.
Step 2: Knead the Dough
Transfer the dough to a lightly floured surface.
Knead for 8–10 minutes until the dough becomes smooth, soft, and elastic. If using a stand mixer fitted with a dough hook, knead on medium speed for approximately 6–8 minutes.
The finished dough should feel soft and slightly tacky without sticking heavily to your hands.
Step 3: Rest the Dough
Place the dough back into the mixing bowl and cover it.
Allow it to rest for 30 minutes. This resting period helps the flour fully absorb moisture and improves gluten development.
Step 4: Bulk Fermentation
Leave the covered dough at room temperature until it becomes noticeably larger and airy.
Fermentation times vary depending on kitchen temperature:
- Warm kitchen (75–80°F / 24–27°C): 6–8 hours
- Average kitchen (70–74°F / 21–23°C): 8–10 hours
- Cool kitchen (65–69°F / 18–20°C): 10–12 hours
Instead of focusing only on time, watch the dough. It should look puffy, feel lighter, and show visible expansion.
Step 5: Shape the Loaf
Turn the dough onto a lightly floured surface.
Gently press it into a rectangle. Roll the dough tightly from one end to the other, creating a loaf shape.
Pinch the seam closed and tuck the ends underneath.
Step 6: Second Rise
Lightly grease a 9×5-inch loaf pan.
Place the shaped dough into the pan with the seam facing downward.
Cover loosely and allow it to rise until the dough reaches approximately 1 inch above the rim of the pan.
This usually takes between 2 and 4 hours depending on room temperature.
Step 7: Bake the Bread
Preheat your oven to 375°F (190°C).
Bake for 35–40 minutes or until the loaf develops a rich golden-brown color.
For the most accurate results, use an instant-read thermometer. The center of the loaf should reach approximately 200°F (93°C).
If the top browns too quickly, loosely cover it with aluminum foil during the final 10 minutes of baking.
Step 8: Cool Before Slicing
Remove the bread from the loaf pan immediately after baking.
Transfer it to a cooling rack and allow it to cool completely before slicing.
Cutting warm bread may result in a gummy texture and compressed crumb.
Storage Instructions
Store the cooled loaf at room temperature in a bread bag, airtight container, or wrapped in a clean kitchen towel.
The bread will stay fresh for approximately 3–4 days.
Avoid storing homemade bread in the refrigerator because refrigeration tends to dry it out more quickly.
Freezing Instructions
Once completely cooled, slice the loaf and place the slices into a freezer-safe bag.
Freeze for up to 3 months.
Individual slices can be toasted directly from frozen without thawing.
Expert Tips for Success
- Always use an active, recently fed starter.
- Weigh ingredients using a kitchen scale for best results.
- Do not rush fermentation.
- Allow the bread to cool fully before slicing.
- Bread flour produces the best texture and structure.
- Keep dough covered during fermentation to prevent drying.
Troubleshooting
Why Is My Bread Dense?
A weak starter or under-fermented dough is usually responsible. Make sure your starter is active and bubbly before mixing.
Why Didn’t My Loaf Rise Enough?
Cool temperatures can significantly slow fermentation. Give the dough additional time and watch for visual signs of readiness.
Why Is the Bread Gummy?
The loaf may have been sliced before cooling completely.
Why Is My Crust Too Thick?
Reduce baking time slightly or loosely tent the loaf with foil during the final portion of baking.
Frequently Asked Questions
Can I Use All-Purpose Flour Instead of Bread Flour?
Yes. However, bread flour generally produces a better rise and chewier texture.
Can I Refrigerate the Dough Overnight?
Yes. After shaping the loaf, cover it and refrigerate overnight. Allow it to sit at room temperature for 30–60 minutes before baking if needed.
How Do I Know When the Bread Is Fully Baked?
The crust should be golden brown, and the internal temperature should be around 200°F (93°C).
Can I Double This Recipe?
Absolutely. Simply double all ingredients and divide the dough between two loaf pans.
Final Thoughts
This sourdough sandwich bread is the perfect balance between traditional sourdough flavor and the soft texture most families love. It slices beautifully, makes excellent sandwiches, and stays fresh for days. Once you bake this loaf a few times, it often becomes a regular part of the weekly baking routine.
Whether you’re making breakfast toast, school lunches, grilled cheese sandwiches, or French toast on a weekend morning, this reliable recipe delivers delicious results every time.