Let’s be real for a second.
Most brownies out there are lying.
They look good in the pan, but bite into them and it’s basically chocolate-flavored sponge cake pretending to be dessert.
These? Nah.
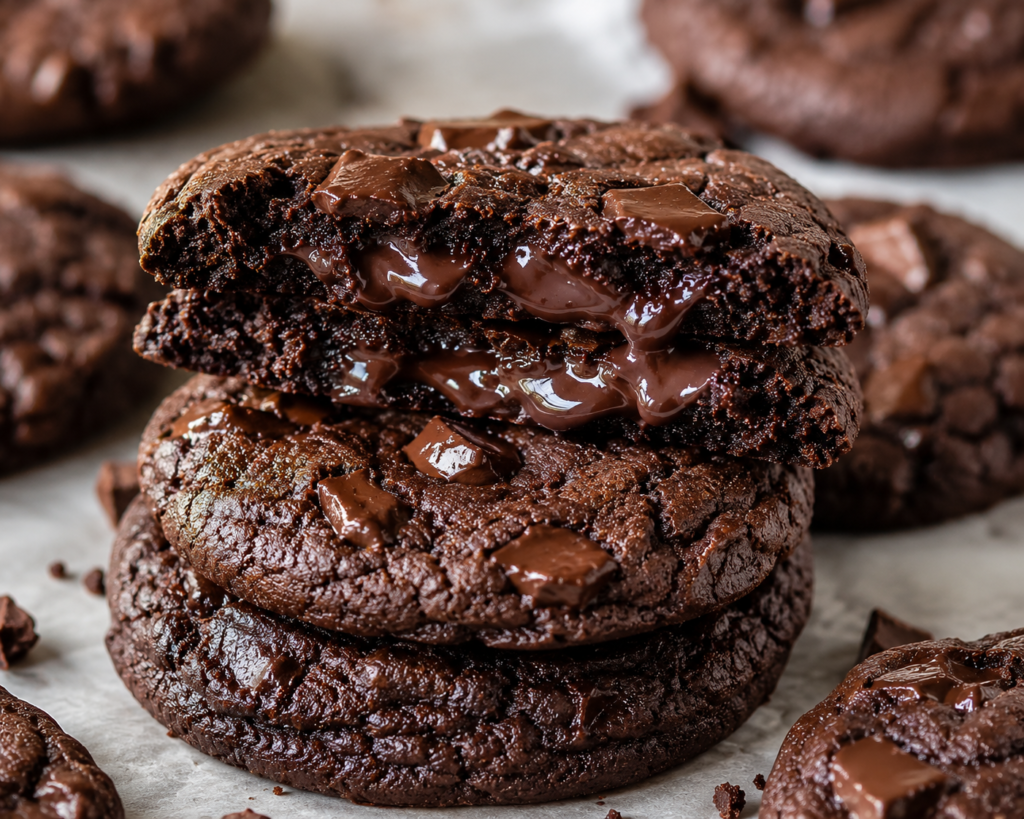
These are dense, glossy, deeply fudgy brownie squares with that crackly top that shatters just a little when you cut in. The kind that sticks to your teeth in the best way possible.
If you’re here for light and fluffy… wrong door.
If you’re here for rich, melt-in-your-mouth, borderline dangerous chocolate energy—you’re exactly where you need to be.
🍫 What Makes These Brownies Hit Different?
This isn’t random baking. This is controlled chocolate engineering.
A real fudgy brownie comes down to one thing: fat over flour.
Here’s what’s doing the heavy lifting:
- Melted butter = richness + chew
- Real dark chocolate = deep, grown-up flavor
- Cocoa powder = that intense chocolate punch
- Brown sugar = moisture + softness
- Extra egg yolk = creamy, almost custard-like texture
- Low flour = no cakey business allowed
No fillers. No fluff. Just structure built for maximum fudge.
🧾 Ingredients (Makes 16 serious brownie squares)
🍫 Chocolate Base
- 200g dark chocolate (60–70%), chopped
- ¾ cup unsalted butter
🍯 Sweet Energy
- ¾ cup white sugar
- ½ cup brown sugar (packed)
🥚 Eggs
- 2 large eggs (room temp)
- 1 extra egg yolk
🌑 Dry Mix
- ½ cup all-purpose flour
- ¼ cup cocoa powder (Dutch-process if you’ve got it)
- ½ tsp salt
✨ Flavor Boost
- 2 tsp vanilla extract
- Optional: ½ tsp espresso powder (trust this—it deepens chocolate, not coffee taste)
🔥 Optional Mix-ins (don’t overdo it)
- Chocolate chunks
- Toasted walnuts or pecans
- Peanut butter swirls
- Salted caramel ribbons
👨🍳 How to Make Them (Step-by-Step, No Stress)
1. Prep like you mean it
Heat oven to 170°C / 340°F.
Line an 8×8 pan with parchment paper. Leave edges hanging out so you can lift the brownies later like a pro.
Light grease = bonus insurance.
2. Melt the base (this is where flavor starts)
In a heatproof bowl:
- melt butter + dark chocolate together
Go slow. No rushing. No overheating.
You want smooth, glossy, almost pudding-like chocolate.
Let it cool slightly for a few minutes (warm is perfect, hot ruins texture).
3. Sugar goes in
Whisk in both sugars.
This is the secret move.
You’re dissolving sugar into warm fat—that’s what creates that shiny, crackly top later.
Keep whisking until it looks thick and silky.
4. Eggs = structure
Add eggs one by one, then the extra yolk.
Mix gently. No whipping air like you’re making cake batter.
Add vanilla (and espresso powder if using).
At this point, the batter should look like thick chocolate pudding energy.
5. Dry ingredients (keep it chill)
In a separate bowl mix:
- flour
- cocoa
- salt
Fold it into the wet mix slowly.
Stop as soon as you don’t see dry streaks.
Overmixing = cakey brownies. Nobody came for that.
6. Add extras (optional but fun)
Fold in chocolate chunks or nuts if you want texture chaos.
Swirls (peanut butter, caramel)? Add dollops and drag a knife through it once or twice. Don’t overdo it.
7. Bake it just right
Pour into pan, smooth the top.
Bake 22–26 minutes.
You’re looking for:
- crackly top
- set edges
- center that’s slightly soft but not raw
Toothpick test:
👉 moist crumbs = perfect
👉 clean = overbaked
👉 wet batter = needs more time
8. The hardest part: waiting
Let them cool at least 1 hour.
Yes, it’s torture.
But cutting early = molten mess.
Chill for 30 minutes if you want sharp, bakery-style squares.
🍽️ What You Get at the End
These brownies land somewhere between:
- fudge
- truffle
- and “why did I eat four pieces without thinking”
Edges are slightly chewy. Center stays soft for days.
And the flavor? Deep, dark, not overly sweet—just pure cocoa intensity.
🧊 Storage (if they survive that long)
- Counter: 3–4 days (airtight container)
- Fridge: up to 1 week (gets even fudgier)
- Freezer: 2–3 months
🔥 Pro move: microwave 10–15 seconds before eating. Instant bakery vibe.
💡 Pro Tips (don’t skip these)
- Don’t overmix after flour goes in
- Don’t overbake (this is #1 mistake)
- Use real dark chocolate, not just cocoa powder
- Sugar must dissolve properly for crackly top
- Metal pan = better texture than glass
❓ FAQ
Why are my brownies cakey?
Too much flour or too much mixing. You basically turned it into cake batter.
Why no shiny top?
Sugar didn’t fully dissolve into warm chocolate + butter.
Can I reduce sugar?
Technically yes, but you’ll lose that fudgy texture and glossy crust.
Can I double the recipe?
Yes—but use a bigger pan or they won’t bake evenly.
How do I know they’re done?
Edges set, center slightly soft, toothpick = moist crumbs.
🍫 Final vibe check
These aren’t “diet dessert” brownies.
They’re not polite.
They’re not subtle.
They’re the kind of brownies that disappear from the pan and make people ask who brought them… and why they didn’t bring more